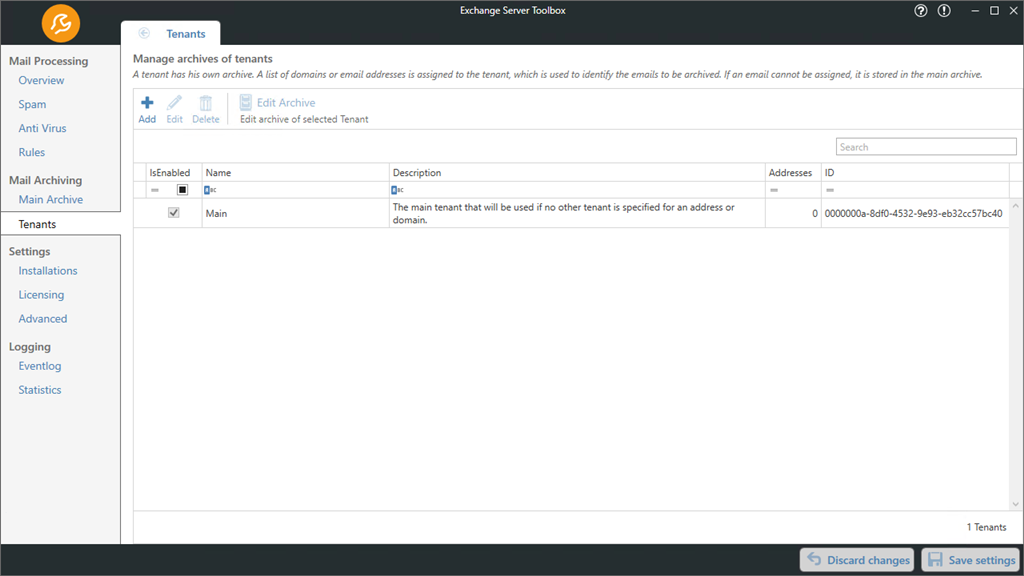
Here you can manage the list of tenants.
Each tenant has its own archive. A list of domains or email addresses is assigned to it. If emails are received from these domains or addresses, the Exchange Server Toolbox assigns them to the respective tenant so that the emails can be stored in their archive.
If an email cannot be assigned clearly, it will be stored in the already existing and non-erasable main archive "Main".
Add a new tenant
To add a new tenant press the "Add" button. This creates an entry called "New Tenant". In the upper part of the new window you can change the name and the description of the tenant. You can also activate and deactivate it using the "Is Enabled" button.
Edit a tenants Addresses/Domains
Using the "Add" button you can add a new Address/Domain. You can edit it using a double click or selecting it and pressing the "Edit" button. To delete an entry please use the "Delete" button.
Edit a tenants archive settings
You can access a tenants archive settings in three different ways:
1.Select an entry in the overview under Mail Processing | Tenants and double click it
2.Select an entry => "Edit" => "Edit Archive" at the bottom of the tenant settings page
3.Select an entry => "Edit Archive" in the toolbar next to "Add", "Edit" and "Delete"
This opens a window that looks exactly like the one you can find under Mail Archiving | Main Archive. A look at the navigation bar at the top of the page will reveal that the path is Tenants > Name of the tenant > Archive.
The archive settings for tenants work just like the settings for the main archive.
Column functions
Right-click on one of the columns to open a menu.
•Sort ascending/descending: The entries are sorted by the column ascending/descending
•Clear Sorting: Removes the ascending/descending sort order. Only usable on columns that are currently being sorted
•Group By This Column: Groups the entries by the selected column
•Show Group Panel: Opens the group panel above the columns
•Show Column Chooser: Shows the column chooser. Here you can select and deselect columns for display
•Best Fit: Adjusts the width of the column so that the longest entry is fully visible
•Best Fit (all columns): Adjusts the width of all columns so that the longest entry is completely visible
•Filter Editor: Opens the Filter Editor, which contains extensive options for creating and customizing filters
Grouping of columns
The table can be grouped by selected columns using the "Group by this column" function. Once you have displayed the grouping field, you can drag the column headers into it to group by them. You can also change the order of the grouping by dragging and dropping in the grouping field.
With a right click on the grouping field, you can expand, collapse and remove all groupings.
A right-click on one of the groupings opens a menu.
•Full Expand/Collapse: The selected grouping is expanded/collapsed
•Sort Ascending/Descending: The selected grouping is sorted in ascending/descending order
•Clear Sorting: Removes the ascending/descending sort order. Only usable if sorting is currently done according to the grouping
•Sorting By Summary: After setting up a group summary, the groups can be sorted in ascending/descending order here
•Ungroup: Removes the selected group
•Hide Group Panel: Closes the group panel
•Show Column Chooser: Shows the column chooser. Here you can select and deselect columns for display
•Best Fit (all columns): Adjusts the width of all columns so that the longest entry is completely visible
•Group Summary Editor: Here you can define factors by which each group is sorted. For example, if you select "Spam Score" and "Max", the largest spam value of all elements in the group is selected for each group. Now the groups can be sorted by this value
•Filter Editor: Opens the Filter Editor, which contains extensive options for creating and customizing filters