You can create a new sensor by using the 'Create Sensor' button in the home ribbon and selecting one of the available sensors.

A configuration dialog appears that allows to intuitively configure the newly created sensor. On the left side you define for example how the sensor should be labeled and which endpoint should be checked. On the right side you can define theoretically any number of conditions for which the sensor will execute an action (e.g. sending a notification email to you).
Actually, to configure the HTTP Sensor that we create here, you just have to enter the URL, e.g. 'https://www.example.com' and the sensor is already configured for collection of statistical data.

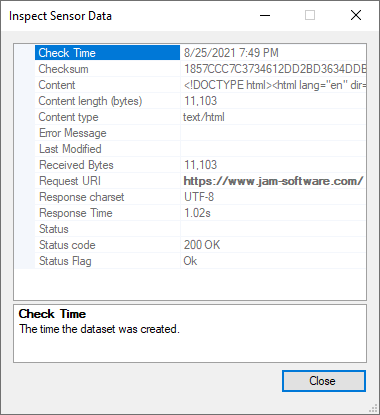
By clicking the 'Test Sensor' link, it is possible to check if the configuration works as wanted. ServerSentinel executes then a test and displays the result in a new window.
You are now already familiar with the basic operation of creating a sensor with ServerSentinel! Read the next chapter to find out how you can add conditions to a sensor and configure them.