The Amazon SES (Amazon Simple Email Service) is an online service enabling users to send emails. SmartSerialMail can send emails via Amazon SES via an SMTP protocol.
The SES is a great tool for developers or companies aiming to send out a great number of emails without having to support their own server infrastructure.
Amazon offers comprehensive documentation regarding the creation of an SES/AWS account (https://aws.amazon.com/documentation/ses/).
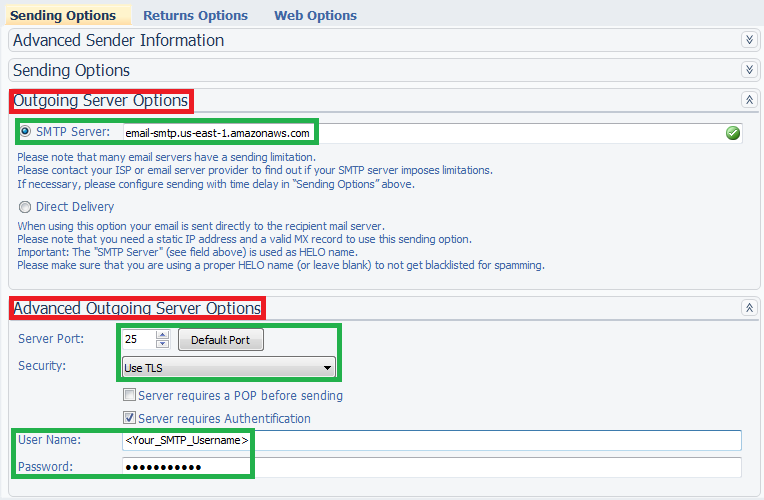
The first part of this chapter illustrates how to use an existing Amazon SES account to send emails with SmartSerialMail.
Read the second part of this chapter to learn how to receive your Amazon SES SMTP server login credentials.
1. Connect SmartSerialMail to an Amazon SES SMTP server
|
|---|
You should be able to reach the Elastic Compute Cloud (EC2) via port 25, the same port it uses to accept emails for sending. If you encounter problems with the connection, you can use the ports 587 or 2587. |

2. How do I receive my Amazon SES SMTP server login credentials?
|
|---|
Please use the comprehensive instructions provided by Amazon When using the Amazon SES you should make sure that your emails reach their prospective recipients. For example, if you manage your own DNS server (Domain Name Service) and use SPF (Sender Policy Framework) or sender ID records, you might want to authenticate your domain with Amazon and implement the necessary changes in your DNS records to make sure your emails will not be falsely marked as spam. (Please find more detailed instruction in the documentation.) If you are using an external email provider such as Yahoo, please contact the provider to find out whether all necessary precautions have been taken. |
1.Use your browser to access "https://<AWSAccountNumber>.signin.aws.amazon.com/console" and log in using your AWS account or your AWS identity.
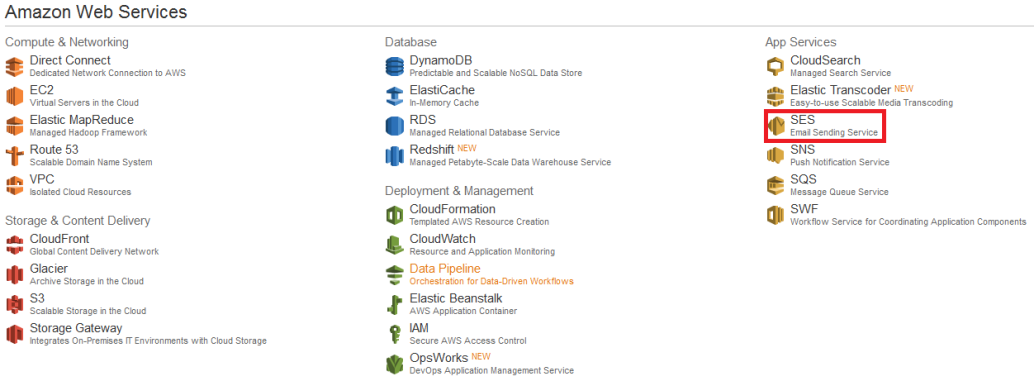
2.Click on the Amazon SES button.

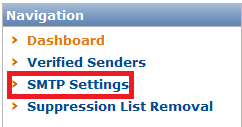
3.In the following window select "SMTP settings" (left side of the page, topic: "Navigation").

4.Click on “Create My SMTP Credentials”.

5.Create your IAM user account to generate your login credentials.
6.Download your login credentials by clicking "Download Credentials".
