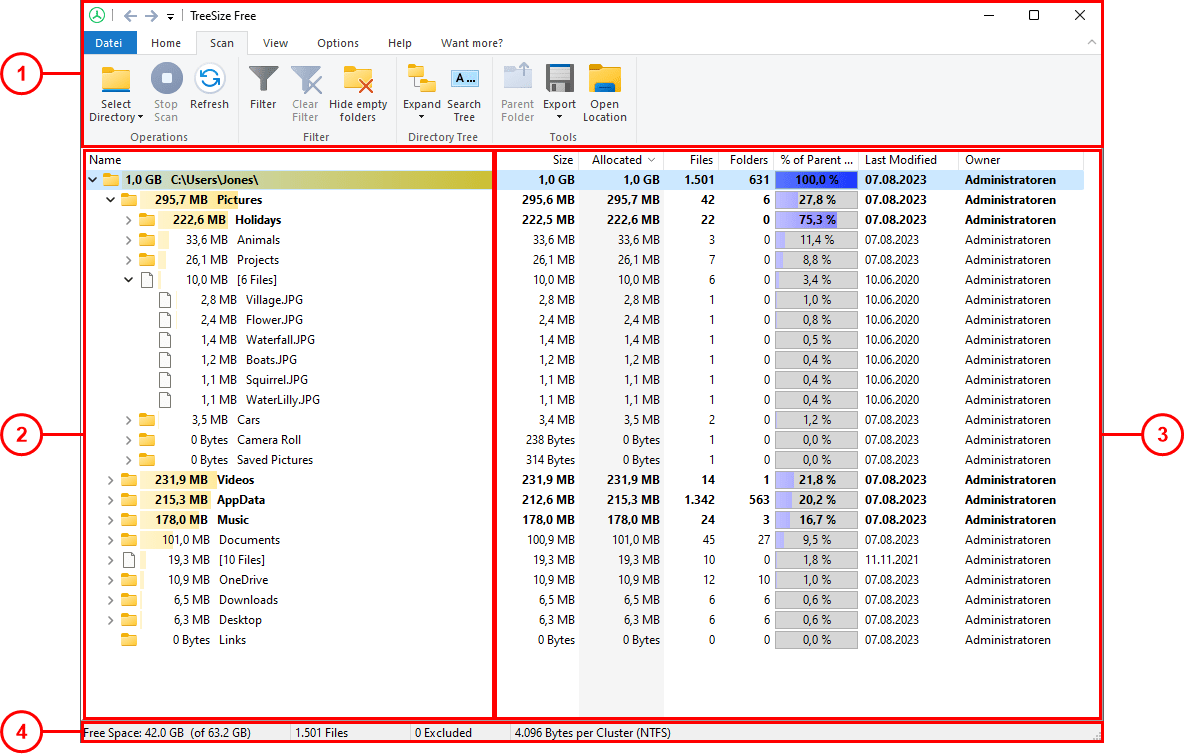
1. |
The Ribbon Bar provides access to all commands of TreeSize Free. It is divided into logical sections such as the "Home" tab, containing commonly used functions and elements, or the "View" tab, enabling you to customize the appearance of TreeSize Free. Use the "Select Directory" button to start the scanning process for a drive or folder. Furthermore, the arrows located in the quick access toolbar (usually the titlebar) allow to navigate forth and back through the recently selected elements within the directory tree. |
|
2. |
In the directory tree a graphical overview of the scanned drive or folder is shown. The arrows in front of each subfolder can be used to expand this view and look into the subfolders' contents. |
|
3. |
The details list particularizes the scanned files. This view is optional and can be turned off/on with the View > Show Details option. You might also use this pane to show a hierarchically structured treemap chart, to visualize your data. The treemap chart can be turned off/on with the View > Show Treemap Chart option. |
|
4. |
Hovering buttons and menu entries the status bar shows hints and explanations to the functions you're about to use. In case nothing is hovered, it displays a short size overview of the scanned folder or drive. |