Run the setup file that you can download from your Customer Area.
The following dialogue opens
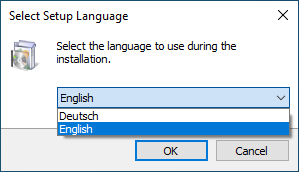
Select "English" and press "OK".
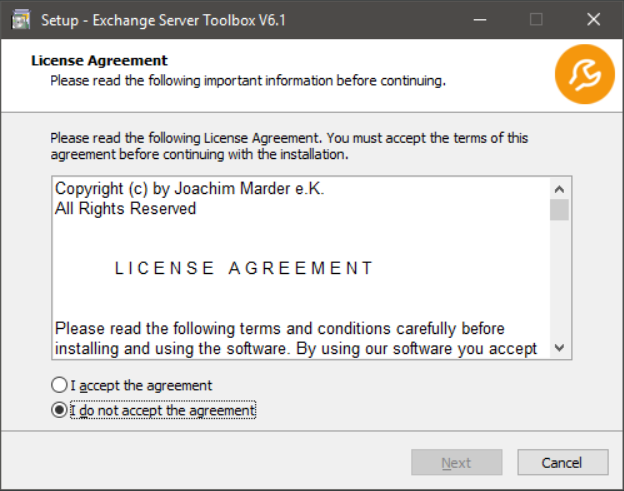
After reading the license agreement select "I accept the agreement" and press "Next".
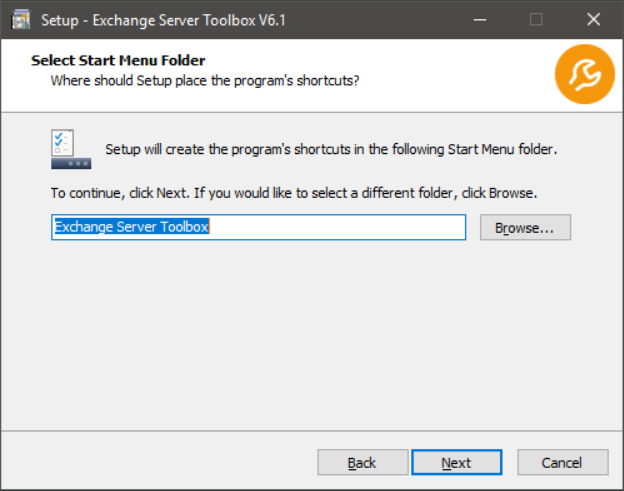
You can use the "Browse" button to assign a different Start Menu folder for the Exchange Server Toolbox. Press "Next" to continue.
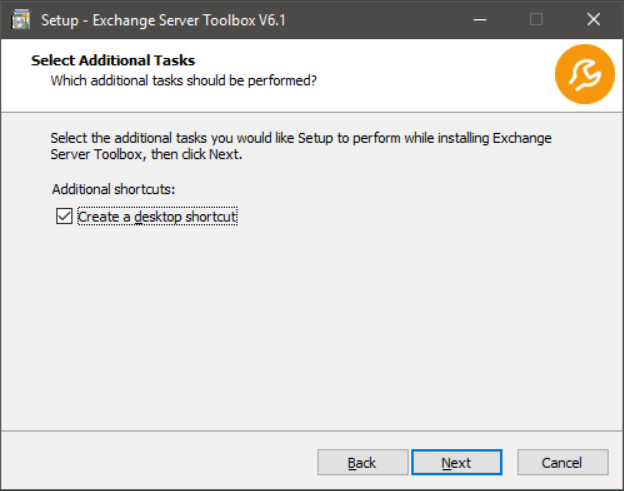
If you do not want the Exchange Server Toolbox to create a desktop shortcut uncheck the "Create a desktop shortcut" option. Press "Next" to continue.
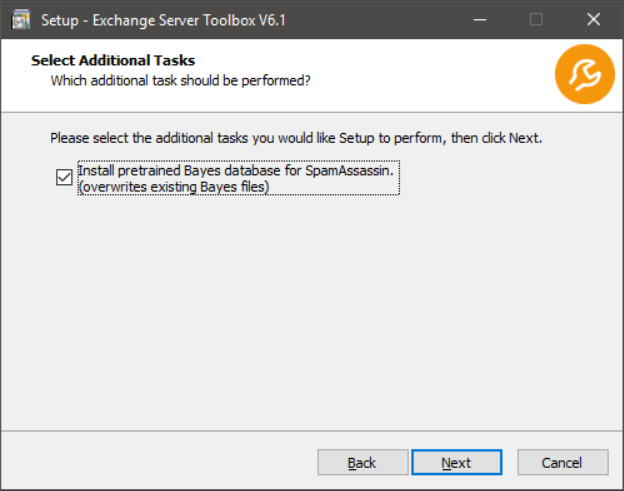
When installing the Exchange Server Toolbox on this machine for the first time, you should leave this option checked. It will train the Bayes Filter of the integrated SpamAssassin with a database. If you already have a Bayes Filter that has been trained by usage you should uncheck this option. Otherwise this will reset your Bayes Filter.

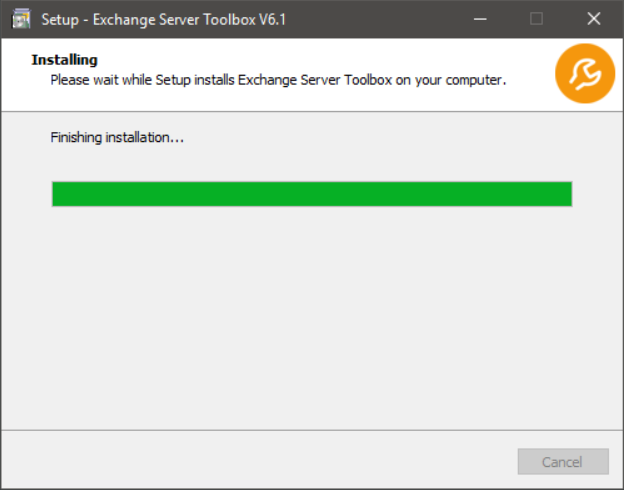
Please wait until the Exchange Server Toolbox has been installed. A second window will open afterwards.
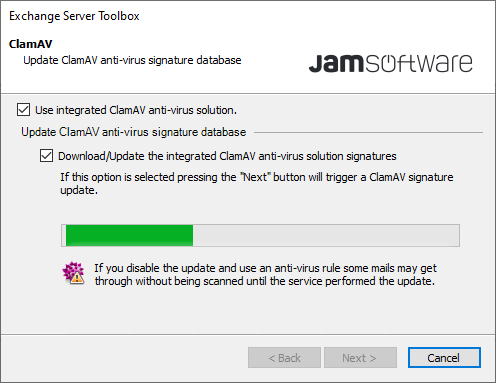
If you want to use the integrated ClamAV, just press "Next". ClamAV automatically downloads the newest anti-virus signatures. Preventing this update may result in viruses not being detected.
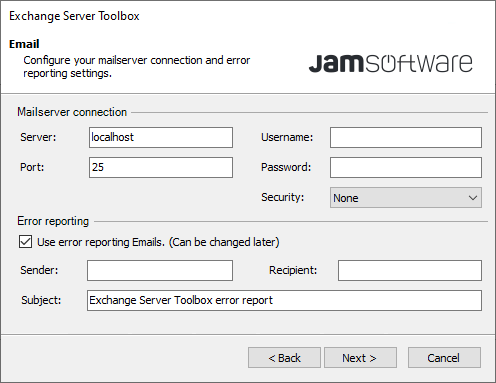
Under "Mailserver connection" add the connection information for your Exchange server. Under "Error reporting" you can add the email address that error messages will be sent to. You can change this email under Settings | Advanced | Mail delivery.
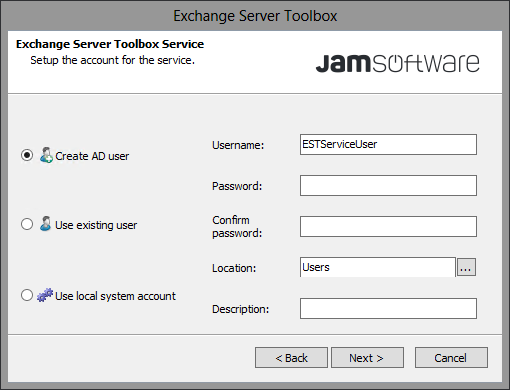
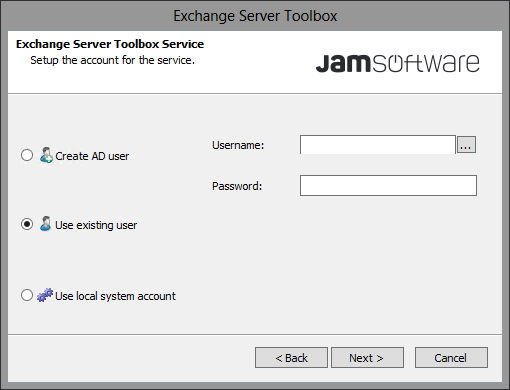
Select the Active Directory user you want to install the Exchange Server Toolbox with. Alternatively, you can create a new user. The user you select will automatically gain full acess to the Exchange Server Toolbox archive. Please not that the user you select should have a permanent password that will not be changed regularly.
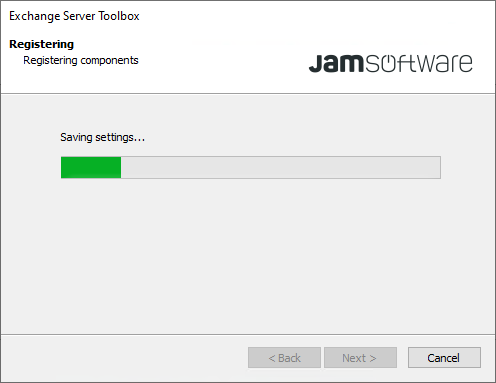
Please wait a moment after the server connection has been established. The installation will continue automatically.
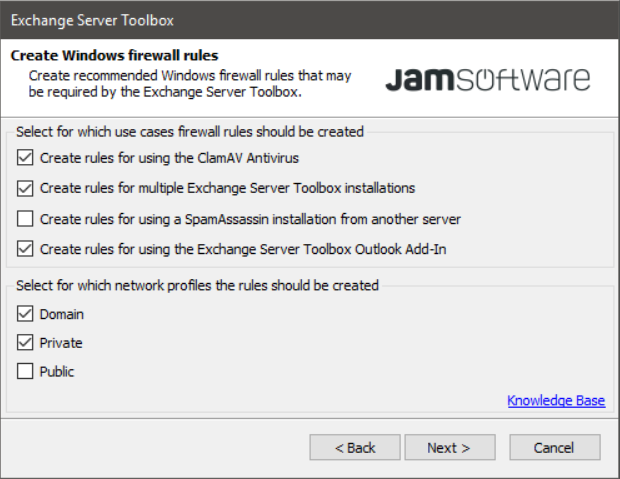
•"Create rules for using the ClamAV Antivirus" creates recommend rules for ClamAV in your firewall.
•"Create rules for multiple Exchange Server Toolbox installations" must be checked if you want to use distributed installations. With this one Exchange Server Toolbox can manage the settings for multiple Exchange Server Toolbox installations.
•"Create rules for using the a SpamAssassin installation from another server"
•"Create rules for using the Exchange Server Toolbox Outlook Add-In " must be checked if you want to use the Exchange Server Toolbox Outlook add-in. You can find the setup file for the add-in by clicking the link in the next window.
After adjusting the settings to your liking press "Next".
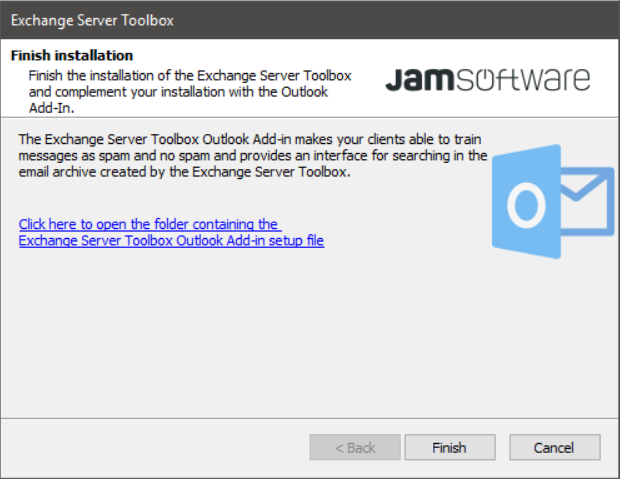
This is the last dialogue for this window.
Clicking the link opens the path to the Exchange Server Toolbox Outlook Add-in setup file.
The original window now applies your settings and finalizes the installation process.
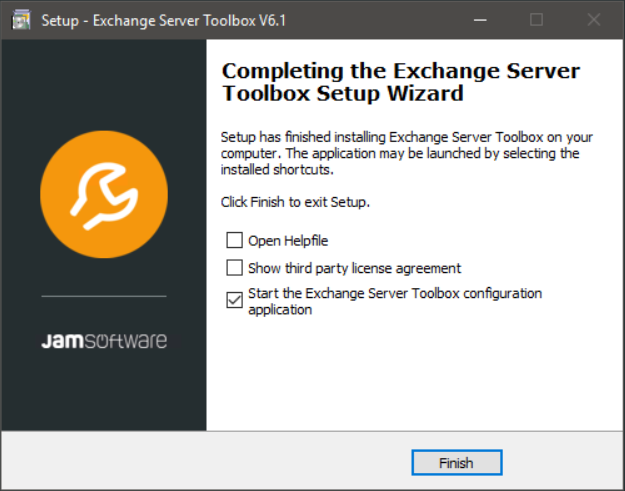
This dialogue opens after the installation has been finished. You can now choose to open the help file or view the third party license agreements. Press "Finish" to close the install wizard and start the Exchange Server Toolbox configuration application.