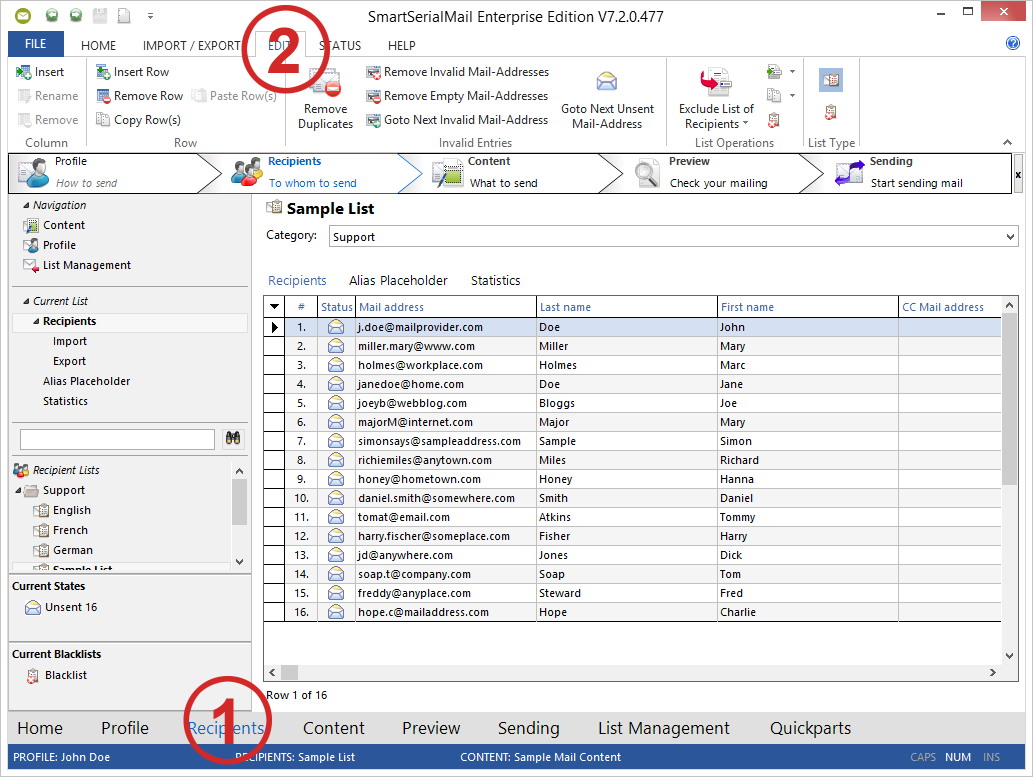
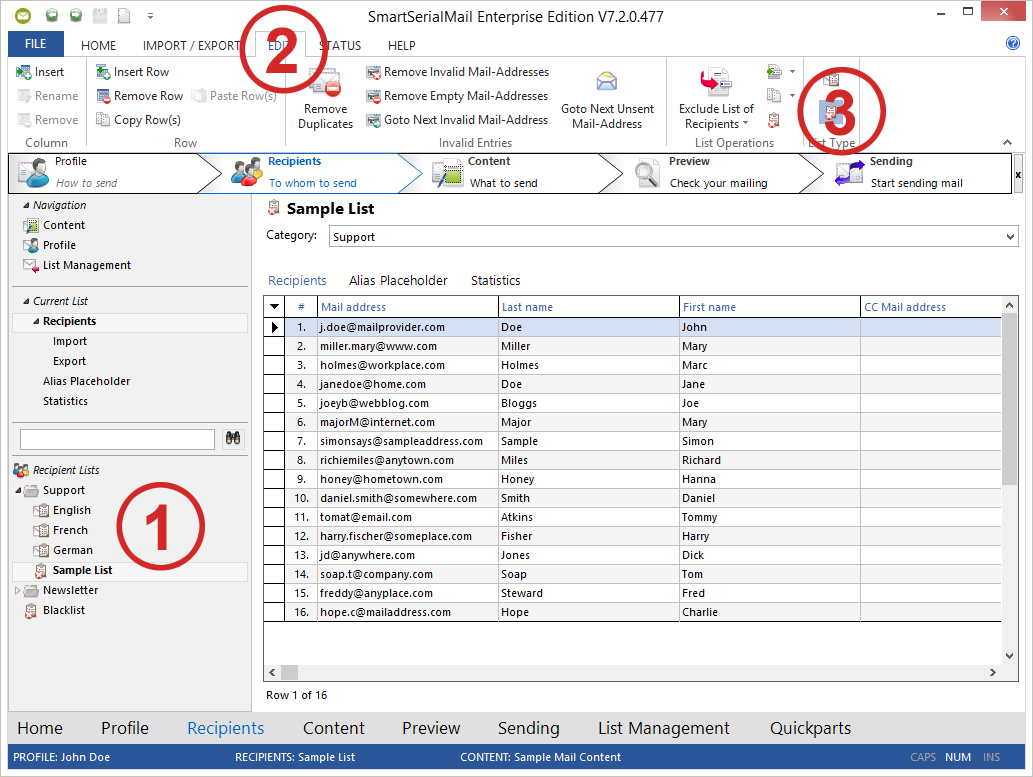
In the following description you are always in the menu "![]() Recipients" and the toolbar "Edit".
Recipients" and the toolbar "Edit".
1. Choose '![]() Recipients' in the navigation.
Recipients' in the navigation.
2. Select the 'Edit' toolbar.
1. Insert entries into your recipients list
Follow these steps:
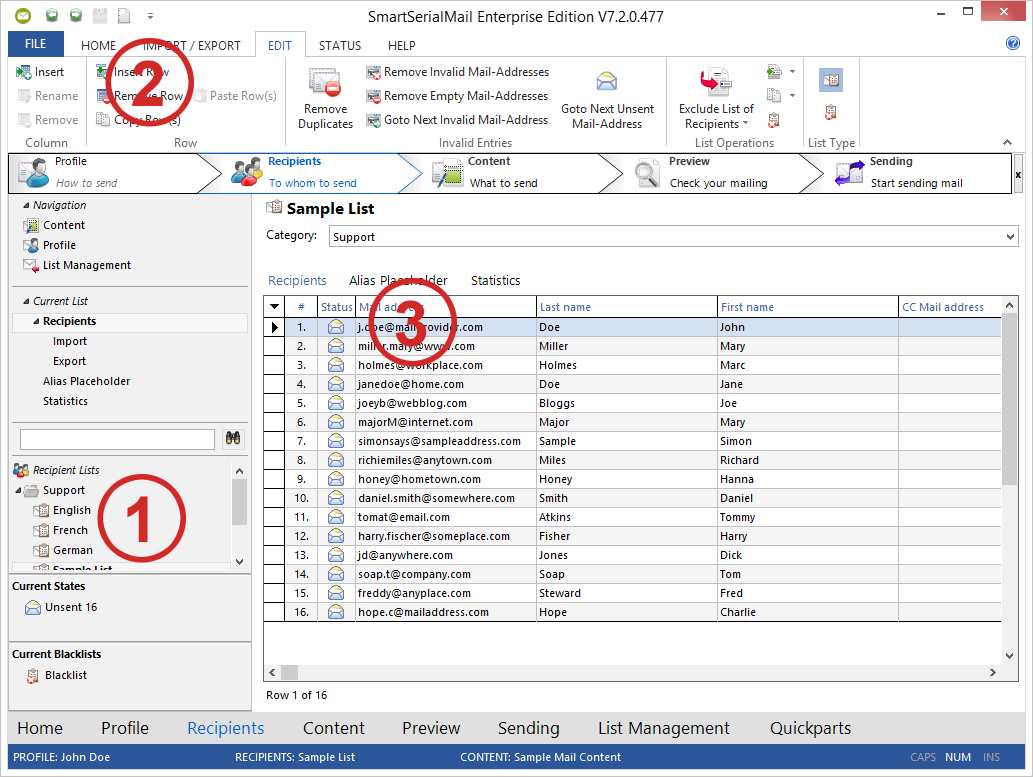
1. Choose the relevant list.
2. Click on '![]() Insert Row' in the 'Row' area.
Insert Row' in the 'Row' area.
3. Now you can insert the e-mail address of the recipient you want to send to.
Press Return to complete your entry.
2. Merge recipient lists
Follow these steps:
1. If you already have a recipients list and you want to add entries, choose this list. If not, create a new one and choose it.
2. Click on '![]() Include List of Recipients'. Choose the list you want to import in the Drop-Down-Menu.
Include List of Recipients'. Choose the list you want to import in the Drop-Down-Menu.
Repeat this step until you merged all lists you want.
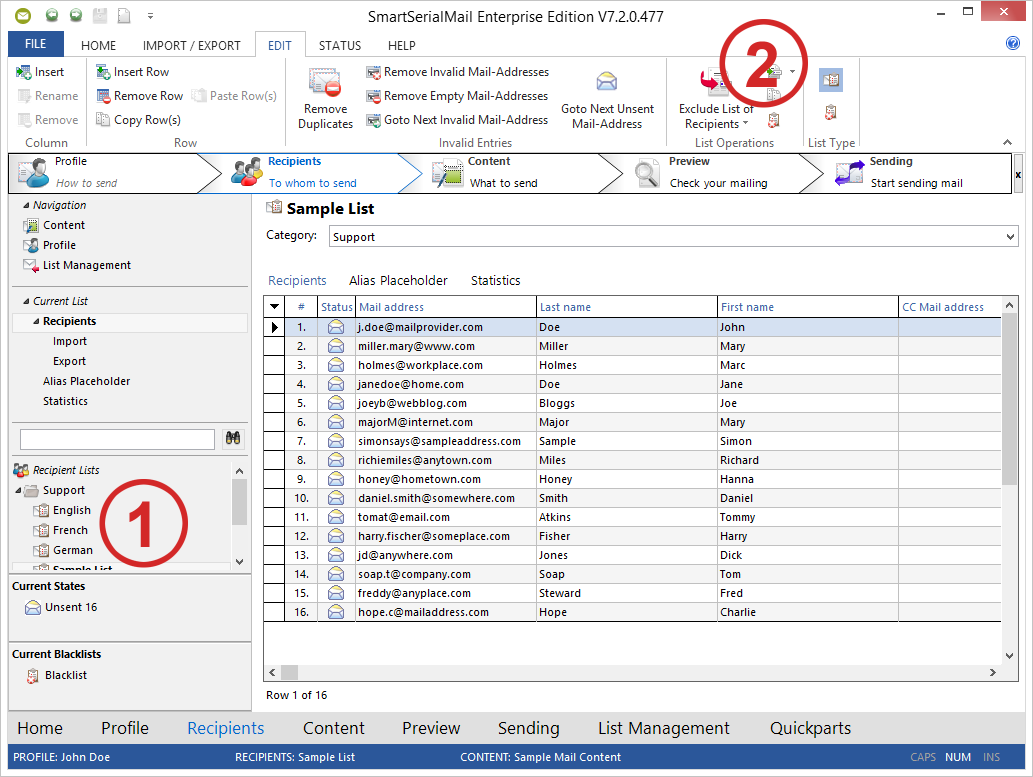
Now you have all recipients, from the lists you have chosen, in one list.
3. Subtract Recipient lists
If you have recipient lists with the same entries, you can delete the duplicates automatically.
Follow these steps:
1. Choose the list you want to delete entries from.
2. Click on '![]() Exclude List of Recipients'. Choose the list you want to remove from the list you have chosen in step one in the Drop-Down-Menu.
Exclude List of Recipients'. Choose the list you want to remove from the list you have chosen in step one in the Drop-Down-Menu.
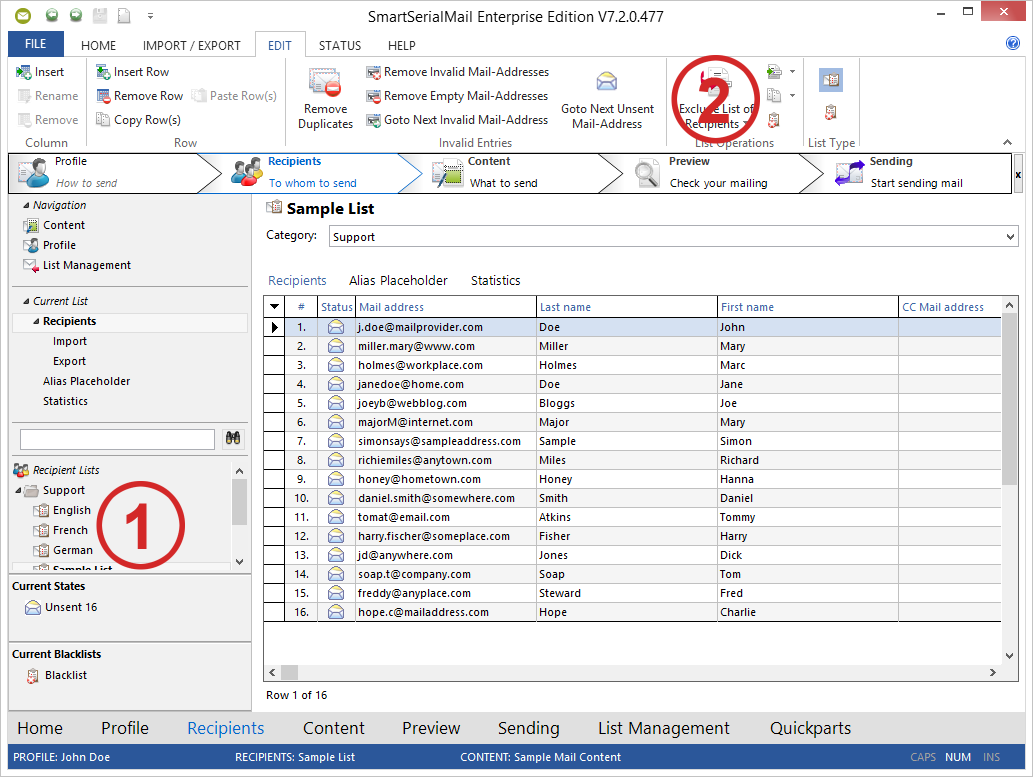
All entries existing in both lists are now removed from your recipients list.
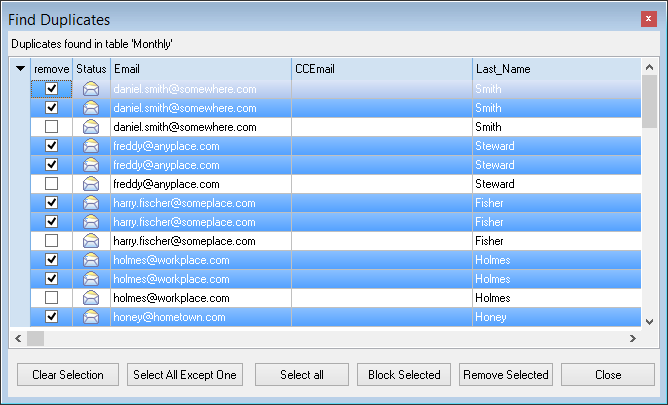
4. Remove Duplicates
With the tool '![]() Remove Duplicates' you can find and manage all multiple addresses in the current list of recipients.
Remove Duplicates' you can find and manage all multiple addresses in the current list of recipients.
1.Select the 'Edit' toolbar and click '![]() Remove Duplicates'.
Remove Duplicates'.
2.All e-mail addresses which appear more than once in your recipient list are shown.
3.By default one of each duplicate is preselected.
By clicking on the selection boxes you can change the selection.
Click 'Select all' to choose all addresses in the list.
4.Click 'Block Selected' to block all selected addresses.
These recipients won't get any mail until you change the status again.
5.Click 'Remove Selected' to delete all selected addresses.
After confirmation of the security query the data will be finally deleted.
6.Click 'Close' to finish search of duplicates.
5. Create a Blacklist
Choose the relevant list.
1.Select the 'Edit' toolbar.
2.Change the 'List Type' from Normal to '![]() Blacklist'.
Blacklist'.
From now on, SmartSerialMail compares, in each sending process, if the entries in the selected recipient list match with the entries on the blacklist.
The recipients which are on both lists will be skipped.
|
|---|
You can also add complete domains to your Blacklist. To do so, make an entry like: *@domain.com in your list. This will cause all mail addresses of this domain to be skipped in the sending process.
E.g.: *@example.com will be added to the Blacklist. |
You can get detailed information in the help files under 'Blacklist'.