Follow these steps:
1.Choose '![]() Recipients' in the navigation.
Recipients' in the navigation.
2.Create a new recipient list or choose one of the existing lists.
The list should contain one column with unique information to allocate the attachments to the correct recipient.
In this example the unique column is the name of the customer.

Create the attachments
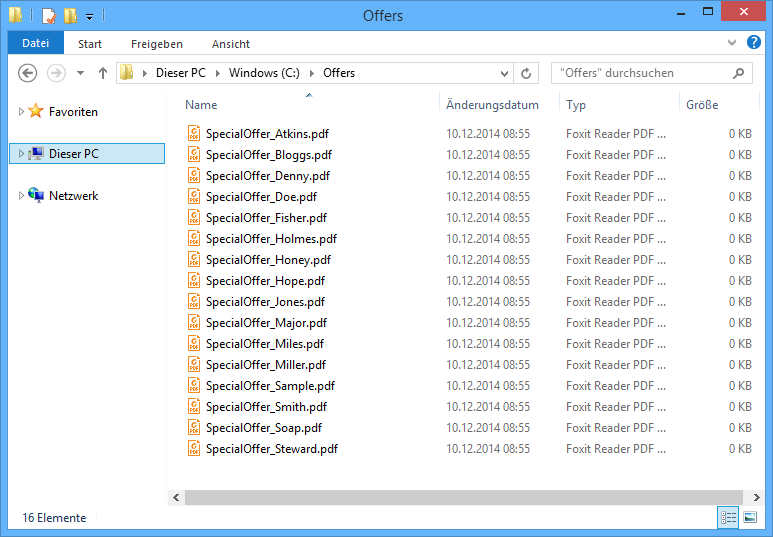
3.Create the attachments and save all of them in the same folder on your PC.
The folder containing the attachments should look like this one.
Add the attachments
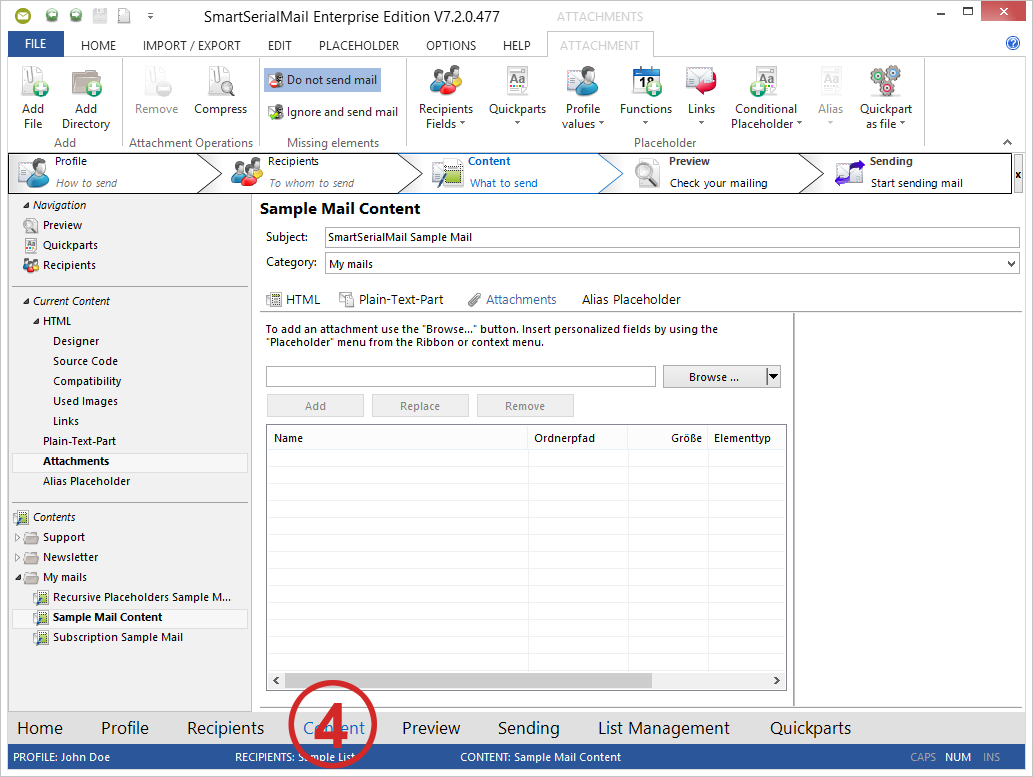
4.Create a Newsletter in step '![]() Content'.
Content'.
Then select the 'Attachment' tab.
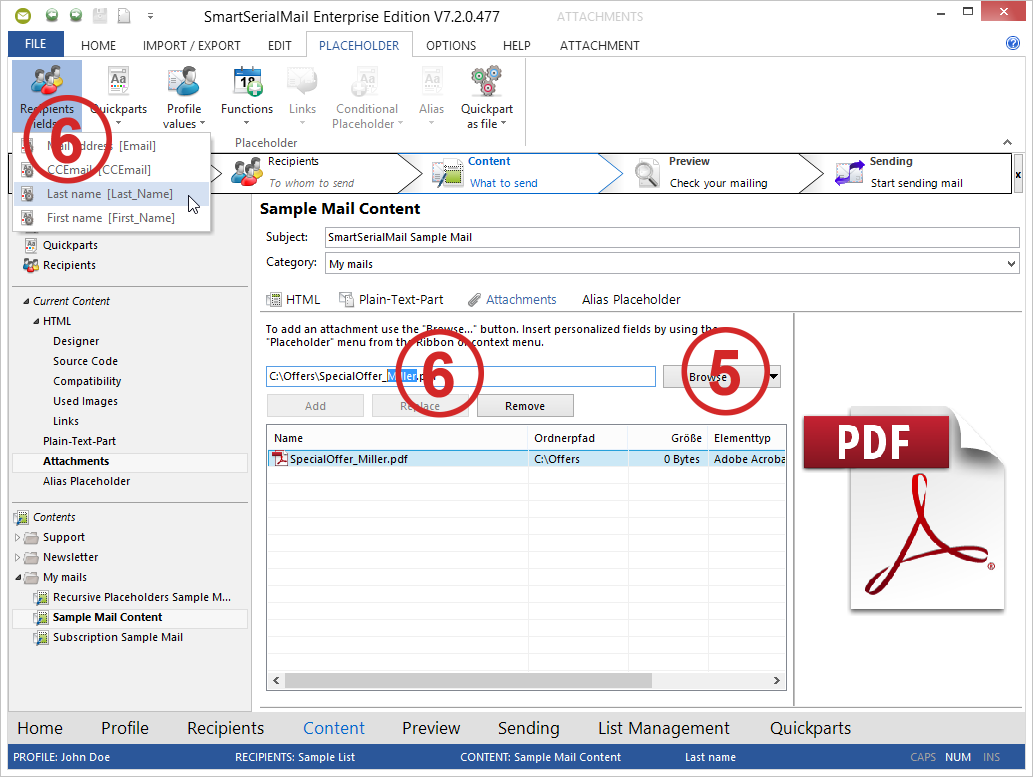
5.On the right side of the tab you can choose the file to attach by clicking the 'Browse...' button.
All files should have the value of the unique column from the recipient list in their name (as in this example Atkins, Bloggs, Miller, etc.).
6.To keep the attachment variable for every recipient you have to insert the matching custom field in the name of the file.
I this example the path to the file is: 'C\Offers\SpecialOffer_Miller.pdf'. If you want to attach individualized files for each recipient you have to highlight the part you want to change for all recipients. For example the first or last name.
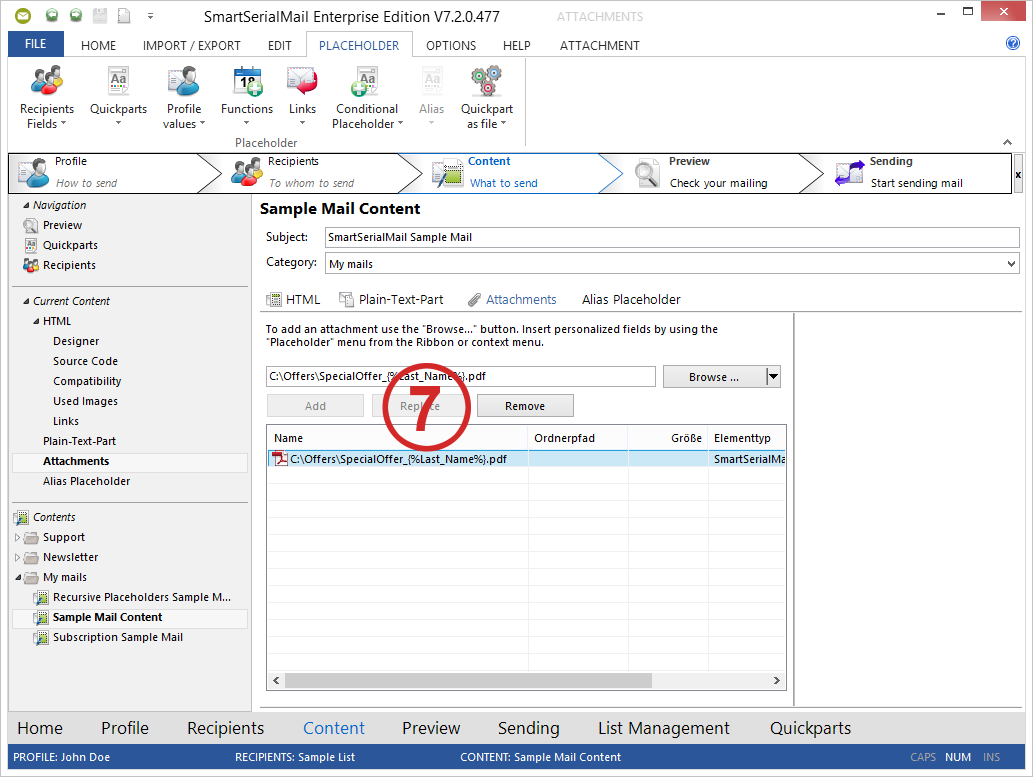
Now that you have selected the part of the path you want to replace with the corresponding placeholder select the 'Placeholder' toolbar and replace the unique part in the filename with a quick part placeholder.
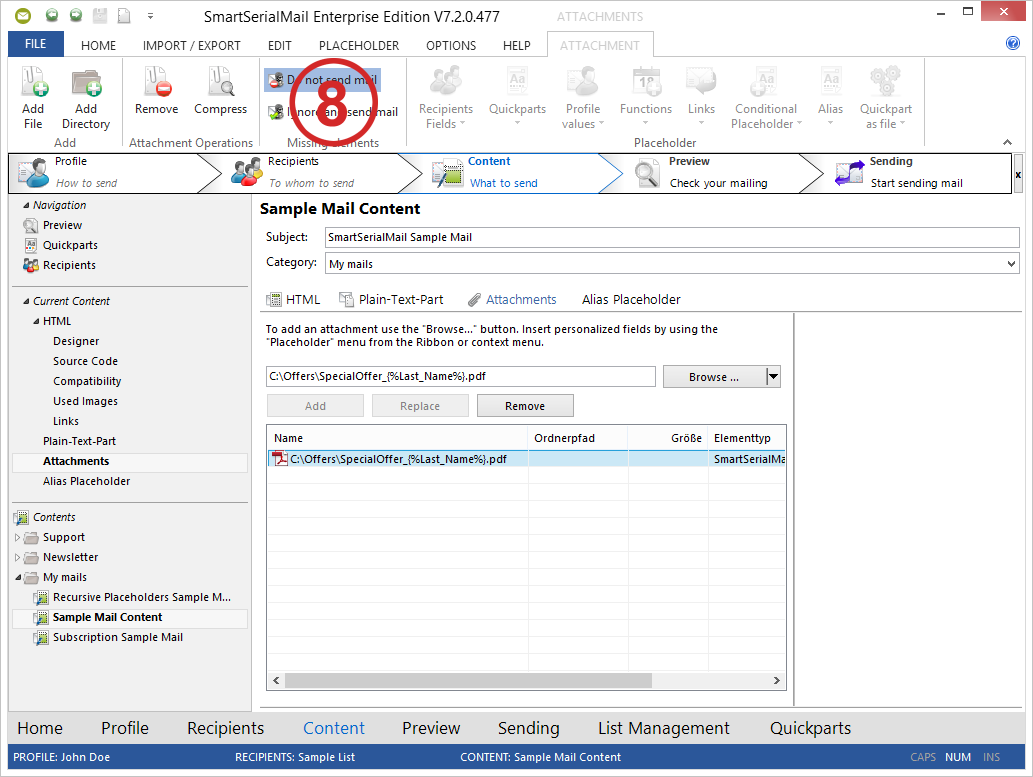
7.The last step is to click on 'Replace' to save the changes you made.
The outcome of this process could be as follows: 'C\Offers\SpecialOffers_{%Last_Name%}.pdf'.
8.In the option 'Missing elements' you can decide how SmartSerialMail will treat e-mails with missing attachments.
Do not send mail: a mail with a missing attachment won't be sent.
Ignore and send mail: a mail with a missing attachment will be sent anyway.
View the result
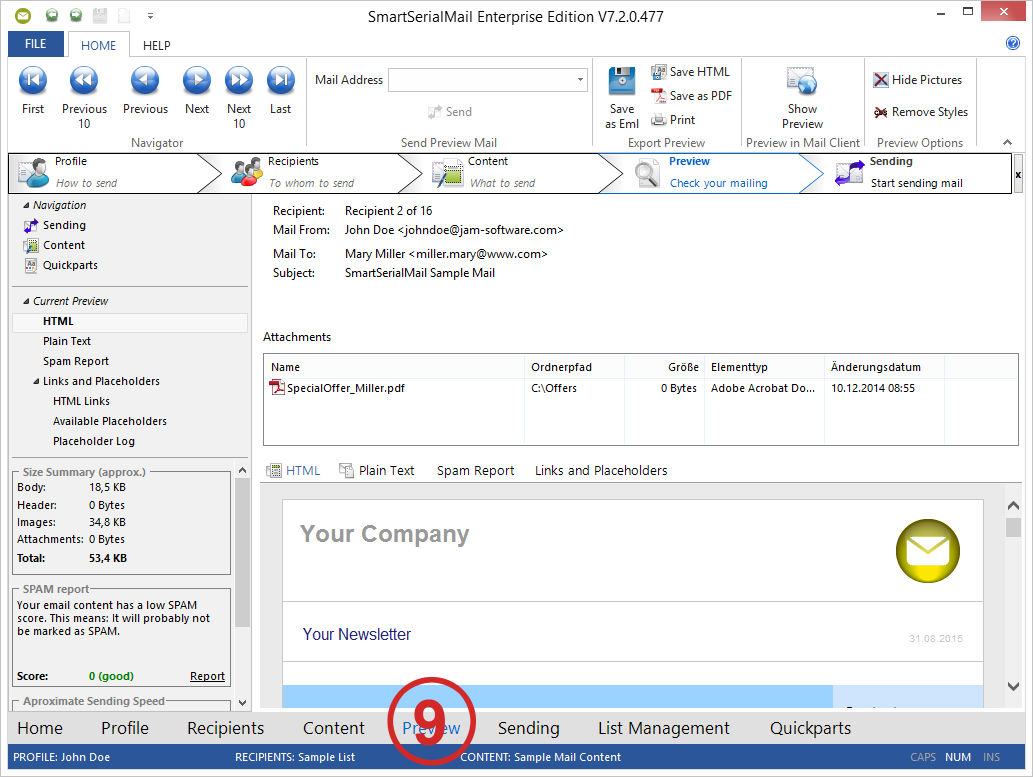
9.The preview of the e-mail works as usual by clicking on step '![]() Preview'.
Preview'.
If you set the option 'Do not send mail' in the 'Attachment toolbar', only mails with an existing attachment will be sent.
For all other mails there will be a failure notice in the log and the mail address will be marked as failure.
10. Start the sending by switching to '![]() Send Mail'.
Send Mail'.
You can get more information in the help files under 'Content'.