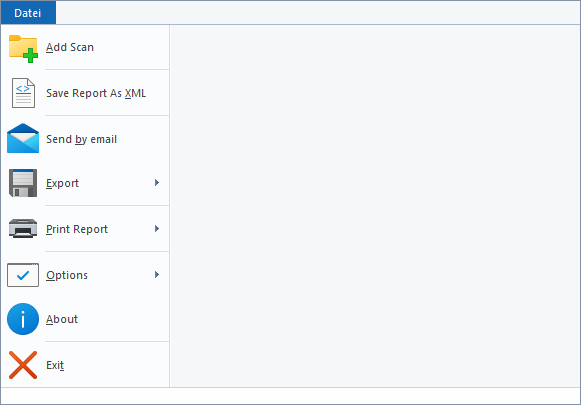
File Tab
The File menu (Application menu) allows you to select folders for scanning, loading, or exporting collected data. It also provides access to the application settings and allows you to exit SpaceObServer.

Add Scan
Opens a form where you can select a drive, share or directory to scan. You may also enter a complete machine/server name (e.g. “\MyServer") to scan all available shares of this machine/server. All shares can be grouped in a container.
Note
With SpaceObServer Enterprise Edition you can also scan Linux and Unix server via SSH (See: “Scan Linux / Unix”) and scan the storage of Exchange Server mailboxes (See: “Scan Exchange Server”).
Send by email
Sends the collected data via email. Information about the email settings can be found here.
Export
Exports the Directory Tree, chart or list content to a file. See submenu Export.
Print Report
Prints the Directory Tree, chart or list content. See submenu Printing.
Options
Opens the Options dialog of SpaceObServer. The submenu also contains commands that allow you to import/export and reset the current options.
About
Shows the About dialog, which contains version and contact information.
Exit
Closes SpaceObServer.