Quickstart
Upon the first start of SpaceObServer you have to configure the database connection.
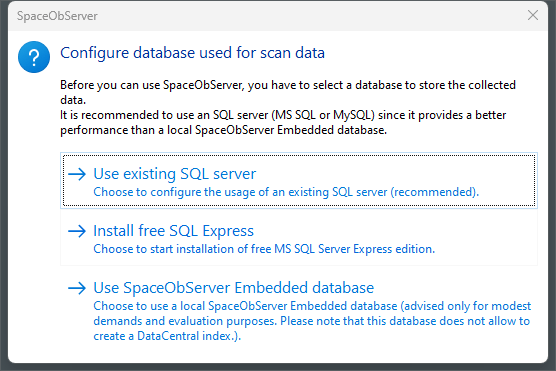
If you want to use a connection to a SQL Server in your network (recommended) commit to this dialog with “OK”. The Options dialog opens, where you can configure the database connection settings.
To ensure optimal performance and work of the application, please refer to the section Recommend Settings.
Please refer to the numbers in the picture when reading the following description.
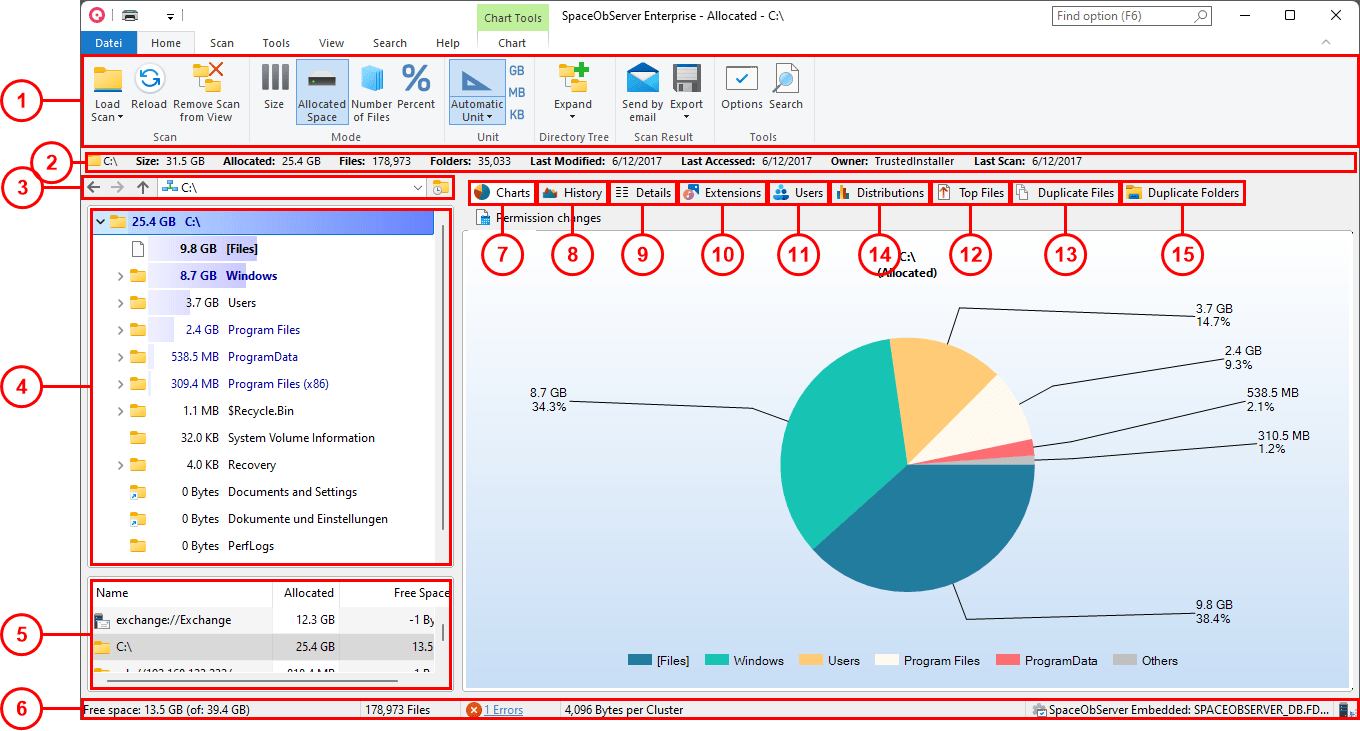
The Ribbon Bar provides access to all commands of SpaceObServer. It is divided into logical sections such as the “Home” tab containing commonly used functions and elements, or the “View” tab enabling you to customize the appearance of SpaceObServer. The colored tab to the right is a context-sensitive depending on the currently active view. Use the “Load Scan” to select a scanned share or drive to load into the SpaceObServer directory tree.
This section will provide additional information regarding the scanned path (e.g. its total size and the number of files and folders contained).
This section contains a drop-down list enabling you to select a previously scanned drive or folder. You can enter paths directly in the control field. If the path is not yet scanned, a scan is started. Otherwise the directory is shown in the directory tree. Note: You can enter multiple paths here, separated by semicolon.
The Directory Tree of the scanned folder or drive gives you an immediate overview about the size of each folder.
The “List of Scans” provides an overview of scanned drives and shares, their allocated space, size growth and some more useful information.
The status bar informs about the allocated and free space of the current drive, the number of files and the “cluster size” of the current drive.
The “Charts” view visualizes folder information either as a “Pie Chart”, “Bar Chart” or as a “Tree Map”.
The “History” view shows changes in for the scanned path in a line chart.
The “Details” view will provide you detailed information on all files and folders contained in the current selected item in the Directory Tree
The “Extensions” view presents information on size grouped by file types. Thus, you’ll gain an overview of the types of files that use up most of the disk space.
The “Users” view shows information on size grouped by users. You will see at a glance which user uses how much space in which folder.
The “Distributions” view holds two graphs. One shows the “Age of Files” distribution and one shows the “Size of Files” distribution for the currently selected branch.
The “Top Files” view lists the top biggest files in the scanned path along with several other details.
The “Duplicated Files” view lists files which are identical regarding certain criteria like name, size, date or MD5 checksum. You can configure these criteria in the Options. No longer required files can easily be deleted, moved or archived into ZIP-files.
The “Duplicated Folders” view provides an overview of identical directory trees or directory trees with a similar structure.