Search paths
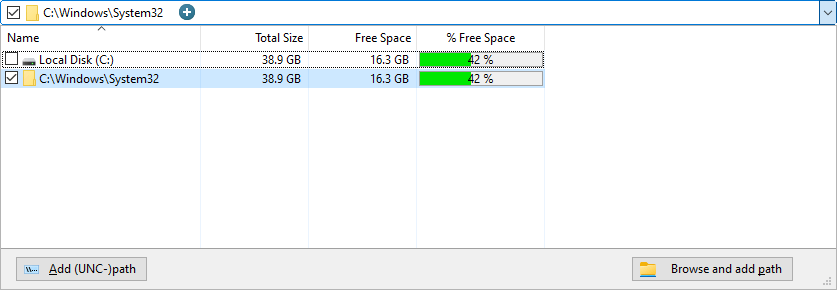
The expandable drive overview enables you to define the drives and paths to search in.
In its non-expanded state, it shows all searchable drives and paths that are selected for the current search.
Additional paths can be browsed for, by using the plus symbol.

When expanded, the panel shows a list of all available drives, as well as the previously selected search paths, in a drop-down menu.
Use the check boxes in front of each drive to select which file system branches should be searched by the file search. You can add additional paths and network drives using the buttons below the list.
The first button will enable you to type in a path, the second one will open a folder browser dialog.
The file search supports the same Scan Targets as the main module of TreeSize, including WebDAV, Amazon S3, and SSH.
Note
You can search entire servers or PCs by using their UNC name like \\SERVER.
You can even search you entire network by choosing the network neighborhood of Windows in the directory browser appearing after pressing Browse and Add Path.
TreeSize automatically browses for PCs and all shares on them (including hidden shares) and performs the search on all shares it finds.